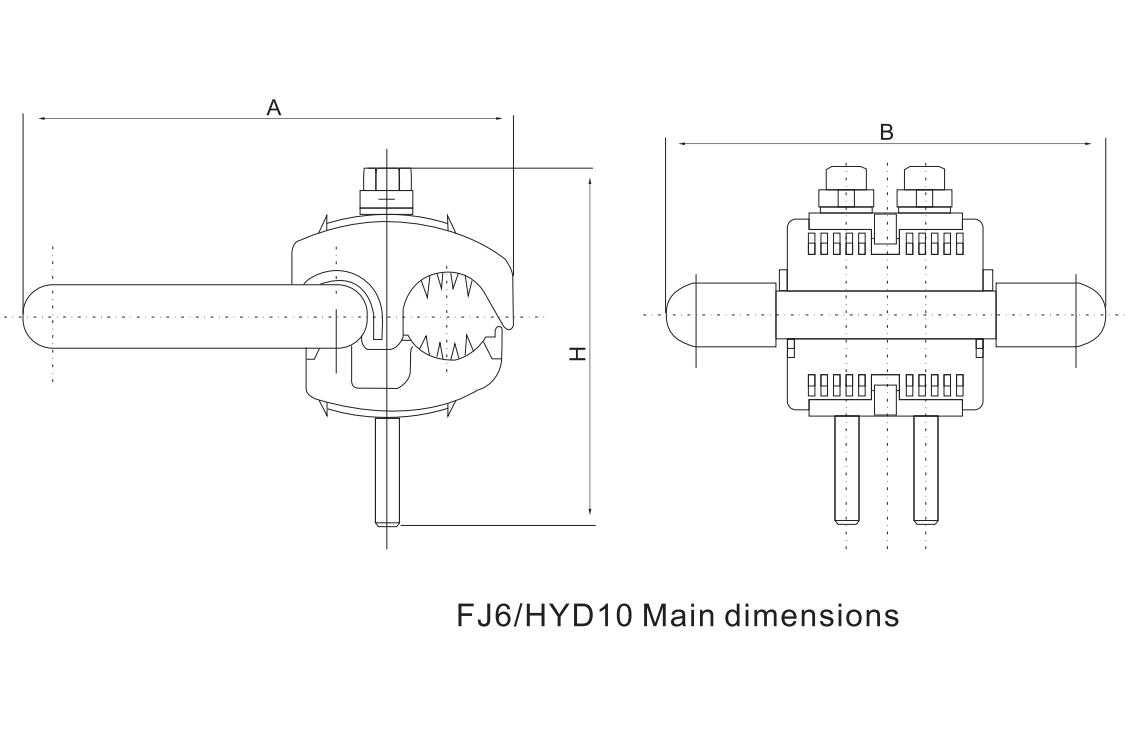


FJ6/HYD Series Branch Type Insulation Piercing Connector — Flame-retardant Version(10kV)
product features
- Optional flame-retardant version available for ZR/NH cables requiring higher fire-safety performance.
- All components are flame-retardant and compliant with 960°C glow-wire and vertical burning tests.
- Connector body made of high-strength, flame-retardant insulating material resistant to mechanical and climatic stress.
- Waterproof construction tested under submerged conditions to ensure insulation integrity in MV applications.
- Sealed branch end-cap prevents moisture ingress.
- Suitable for live-line or de-energized installation.
Detailed introduction
Flame-retardant Version Features
- Optional flame-retardant version available for ZR/NH cables requiring higher fire-safety performance.
- All components are flame-retardant and compliant with 960°C glow-wire and vertical burning tests.
- Connector body made of high-strength, flame-retardant insulating material resistant to mechanical and climatic stress.
- Waterproof construction tested under submerged conditions to ensure insulation integrity in MV applications.
- Sealed branch end-cap prevents moisture ingress. • Suitable for live-line or de-energized installation.
Application
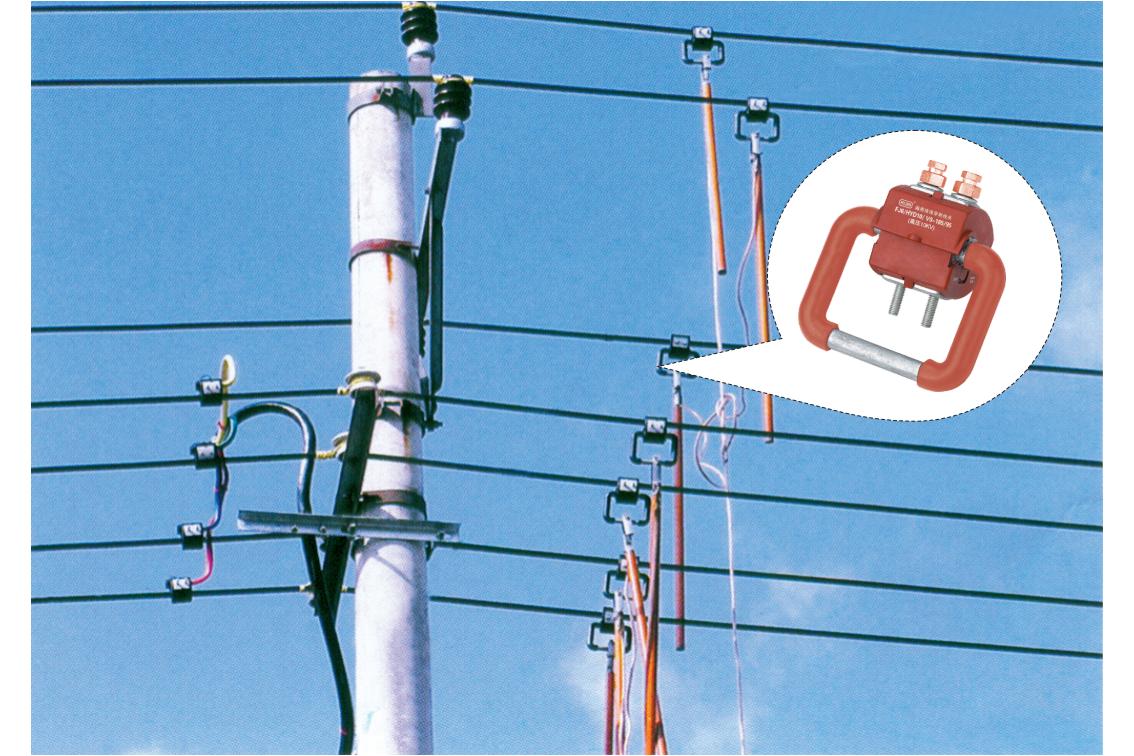
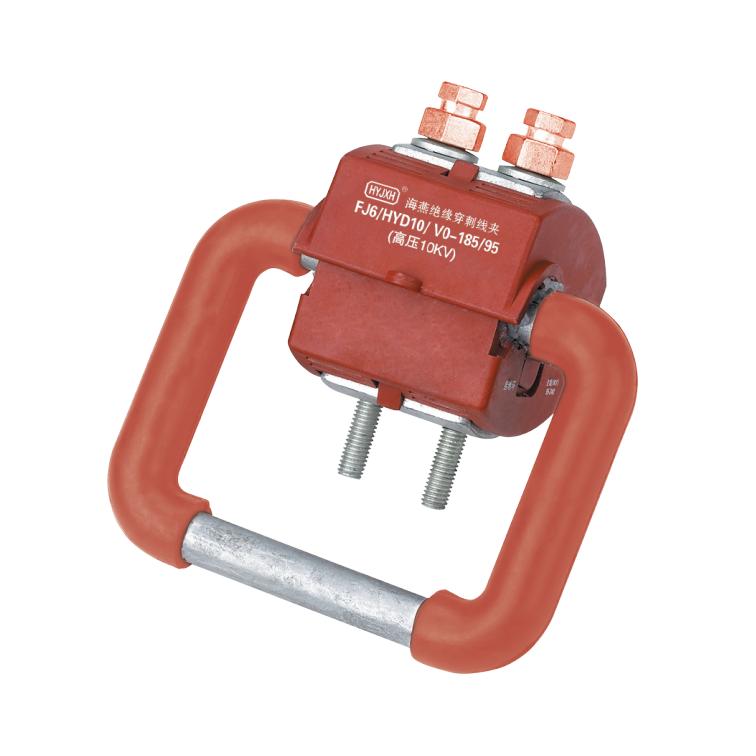
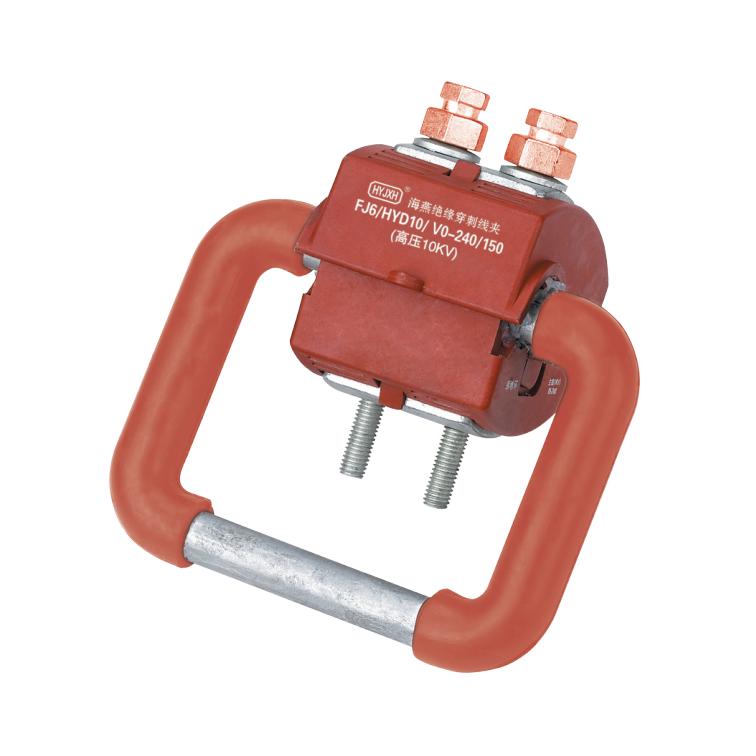
The FJ6/HYD10 series earthing type insulation piercing connectors are used for establishing protective earthing and equipotential bonding in 10 kV overhead insulated distribution systems.
They provide a reliable earthing path by connecting insulated conductors to the earthing network, ensuring the safety and continuity of medium-voltage distribution circuits.
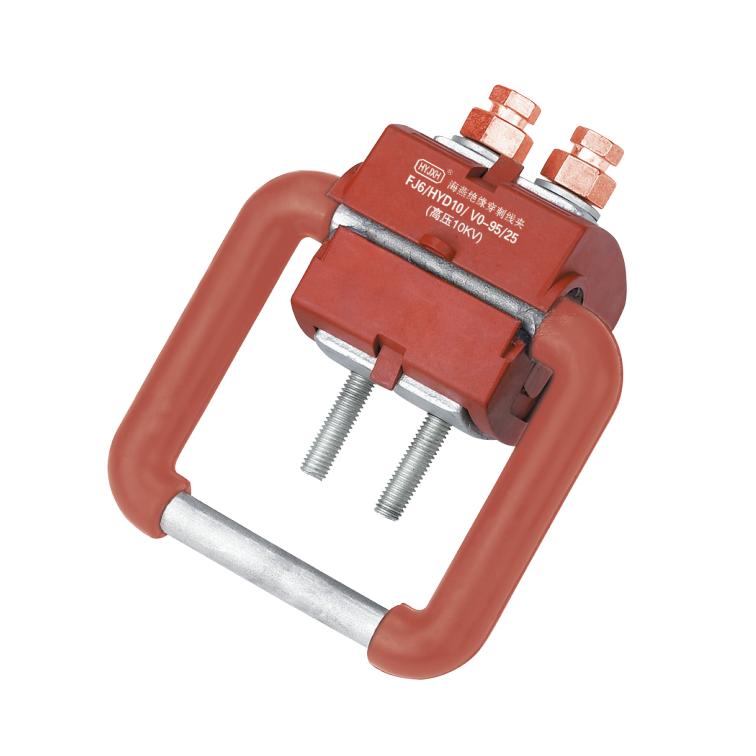
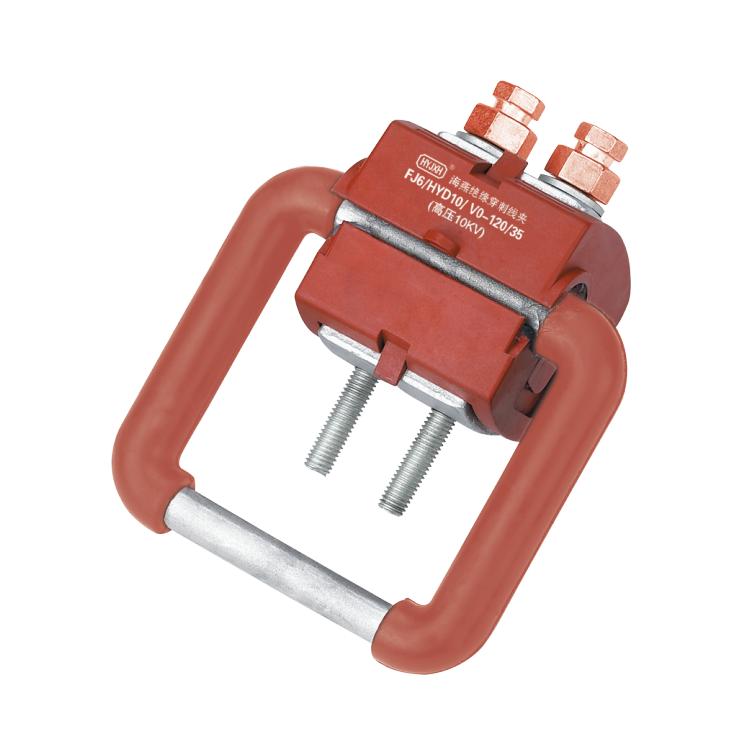
Key Specifications
 |
| |||||||
 |
| |||||||
 |
| |||||||
 |
|
Installation and Operation
- Install and secure the medium-voltage insulated conductor using standard methods.
- Remove the required length of the outer sheath at the earthing position without damaging the insulation layer.
- Prepare the earthing conductor of the required length and strip the sheath at the connection end.
- Position the earthing connector on the exposed section and tighten the shear-head bolts until they shear off.